Thousand Layer Lasagna
My favorite and best lasagna recipe. Dozens and dozens of whisper-thin sheets of fresh pasta brushed with the most vibrant red tomato sauce imaginable all intersecting layer after layer of warm, oozy, fresh mozzarella.
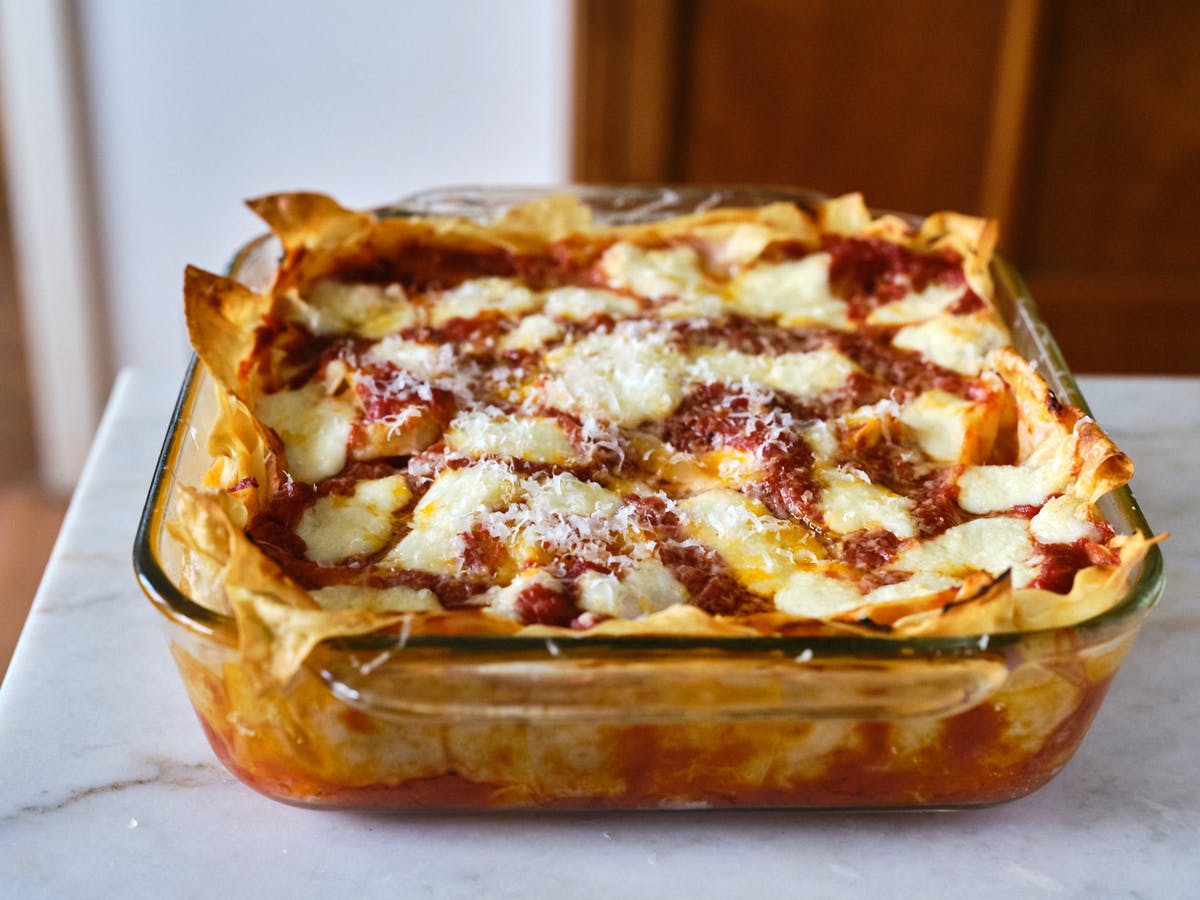
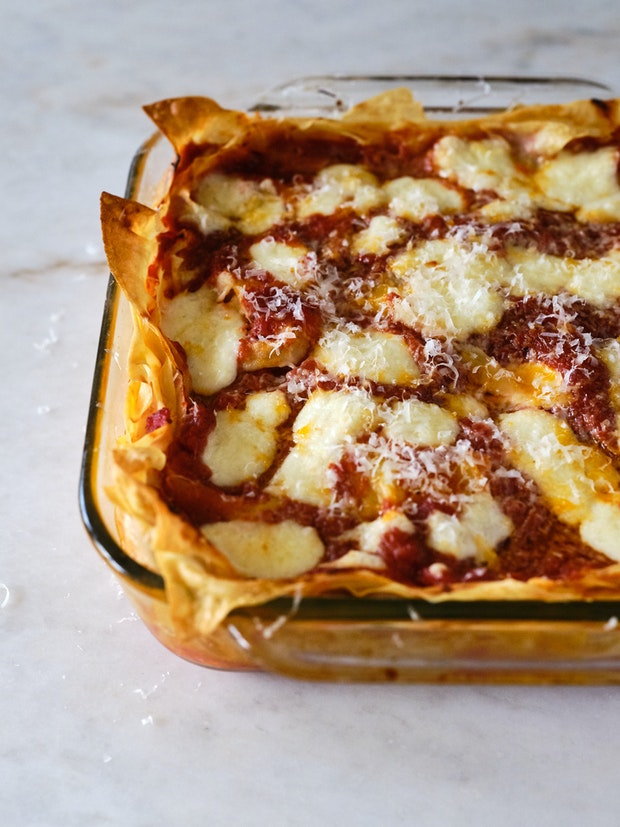
If I told you this was the best lasagna recipe, would you believe me? Let's give it a try. This is thousand layer lasagna. I first posted the recipe in 2006, and still make it all these years later. Imagine dozens and dozens of whisper-thin sheets of fresh pasta brushed with a simple, vibrant red tomato sauce, threaded with layer after layer of warm, oozy, fresh mozzarella. Where the sauce and cheese and pasta touch the pan, particularly in the corners, everything gets crunchy and caramelized. The corner pieces, omg.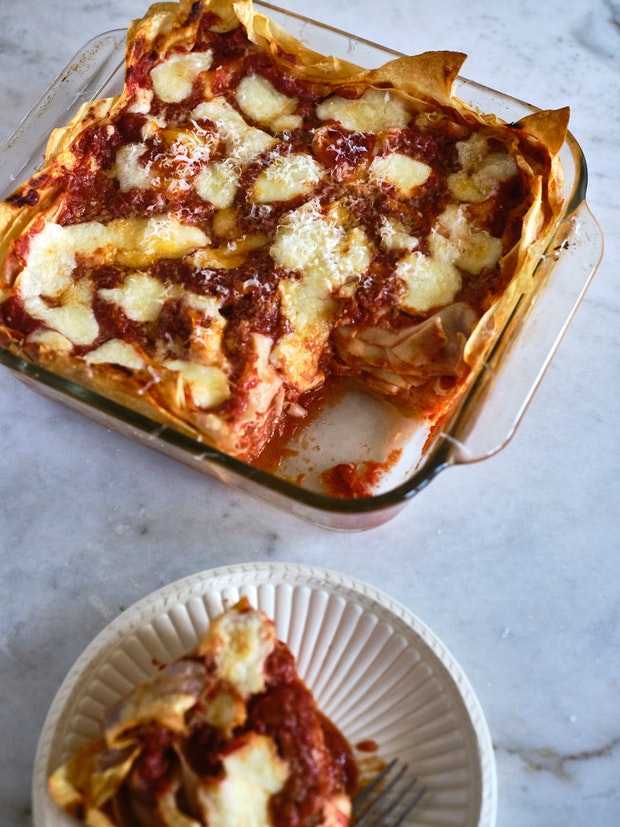
I should say, this isn't a lasagna path for the faint-hearted. This lasagna takes commitment, patience, and lots of time. Think weekend project. This is in part because you’re using fresh pasta, and, well, there are a thousand layers. That said, I’ve streamlined the process a lot over the years. And will call out those tips in the recipe below.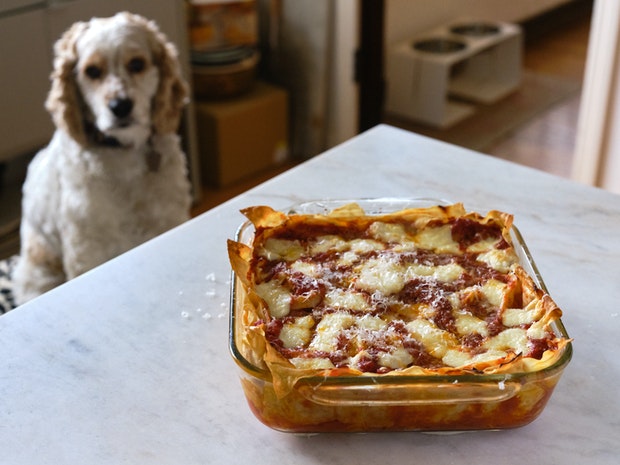
How to Make Lasagna: The Basics
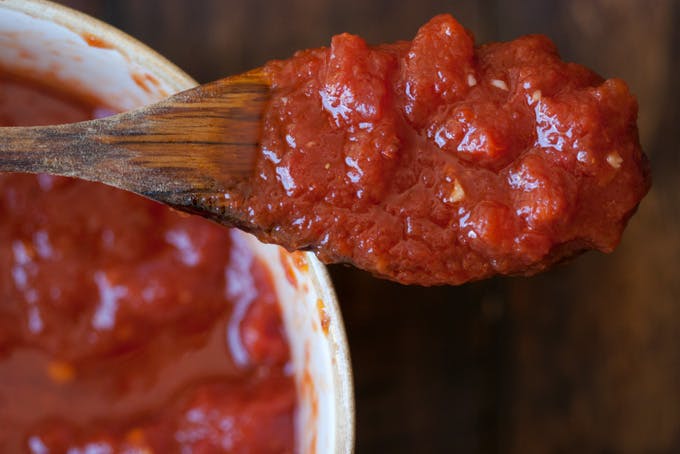
- Start by making the sauce: the sauce I use for this lasagna is super simple, vibrant, and a wink spicy.
- Prepare the pasta: You’ll either be using homemade pasta or purchase fresh pasta sheets. No dried pasta noodles for this lasagna. The key will be getting your pasta sheet extra thin before boiling.
- Assemble the lasagna: You're on the home stretch.
- Bake: Until golden, hot, and bubbly - serve!
Homemade Pasta versus Store Bought
Originally, I would always make this lasagna with homemade pasta sheets. Eventually it dawned on me that I could buy pasta sheets and shave some time off the production. I'd say it cuts your time in half. The main thing, in either case, is that you want to get your pasta sheets super thin. So, even if I buy pre-made pasta sheets, I run them through my pasta machine at home a couple times to make them even thinner.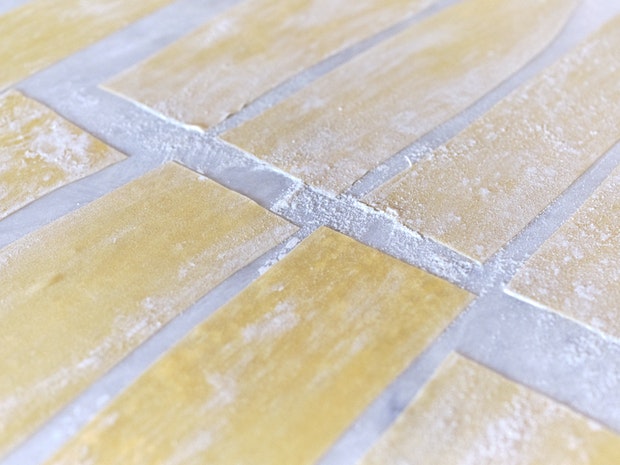
I'm using homemade pasta here, but the process is basically the same if you're using store-bought pasta sheets.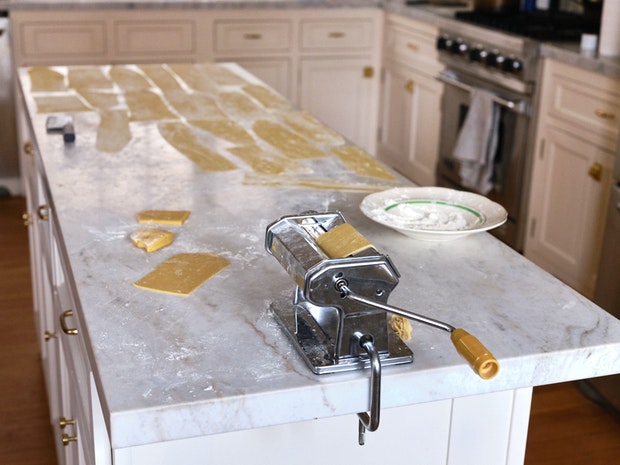
Can I Freeze Lasagna?
Yes! Absolutely. You can store it, assembled, either baked or unbaked.
- To freeze an unbaked lasagna: Line your baking pan with a layer of parchment paper. Assemble the lasagna in the baking dish, allow to cool completely, and freeze until solid. Once frozen, transfer the frozen block of lasagna from the dish, wrap completely with foil and freeze for up to a month or two.
- To finish an unbaked frozen lasagna: Remove all layers of foil, you can decide if you want to leave the parchment or not, and transfer to the original baking dish. Allow to thaw completely before baking as directed.
- To freeze baked lasagna: If you know you’re going to freeze your fully baked lasagna, line your pan with foil, and then a layer of parchment paper. Assemble the lasagna as directed, and then bake. I tend to undertake a shade here, knowing I’ll be reheating later.Let it cool completely after baking, and then freeze solid. Transfer the frozen lasagna out of the baking dish, wrap tightly in foil, and freeze for up to a month or two.
- Reheating a baked lasagna: remove the lasagna from the freeze and remove the foil. Transfer to the original baking dish, and allow to thaw completely. Cover with foil and bake as directed until golden and bubbly.
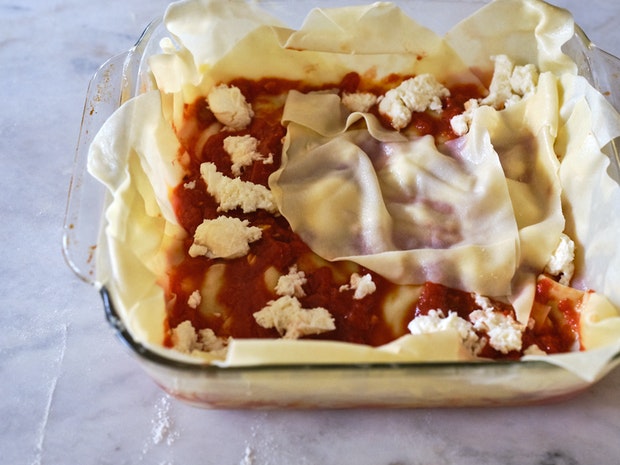
This is a good photo (above) demonstrating the ideal thickness of your pasta for this lasagna. The photo above shows you the amount of sauce you're aiming for, as well as mozzarella.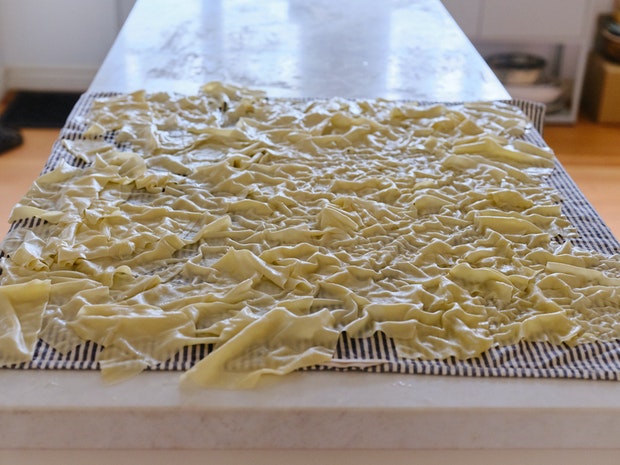
What you are seeing in the photo above is the pasta sheets boiled and ready for assembly. Because of the olive oil in the cooling water you use, overlapping the pasta sheets here isn't a problem. They separate relatively easily.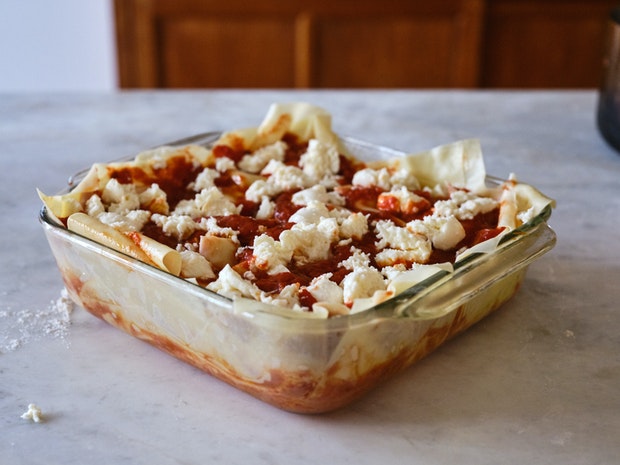
Ready for the oven! This is what it looks like fully assembled and ready to bake. Of course you can experiment with different pans and baking dishes. You can make extra pasta and sauce and go extra deep dish. Once you get the hang here, you can take the general idea and run with it.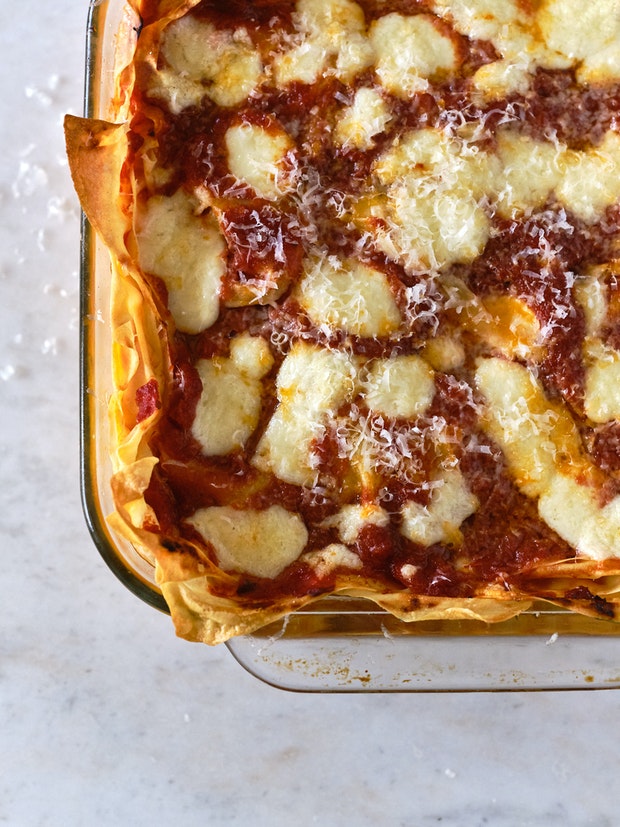
Thousand Layer Lasagna Variations
Today I’m sharing the tomato-based “starter” version of this lasagna, but feel free to experiment through the seasons. I've done roasted butternut squash + brown butter, or pesto and ricotta - play around, but keep the sauces + fillings simple and (key!) not too chunky. Part of the magic comes from the baklava-like layering of the pasta, one on top of the next. There’s just enough going on between each layer to keep it all moist, flavorful, and feathery-light. Well, as feathery-light as lasagna gets.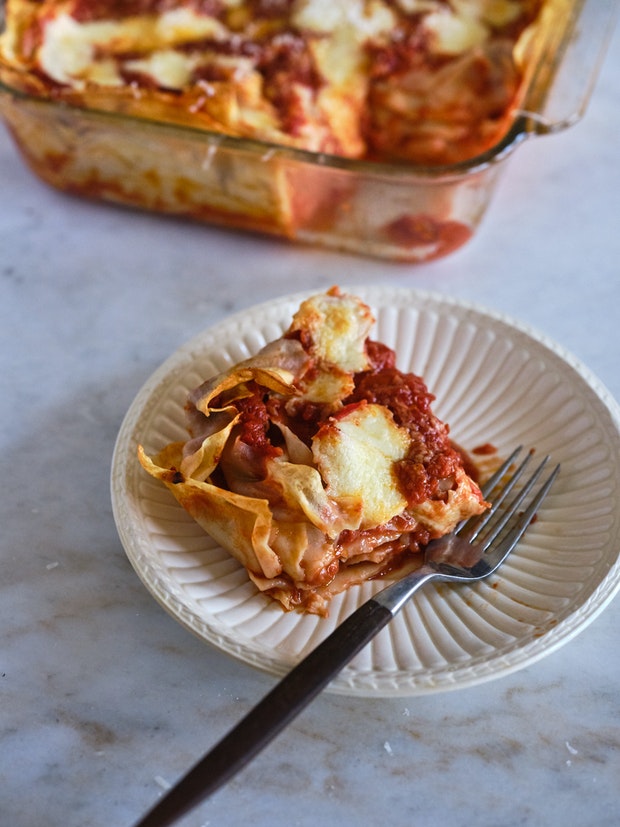
This is such a fun lasagna to make. Particularly if you're not in a hurry. Have fun, it's worth the payoff when it comes out of the oven!
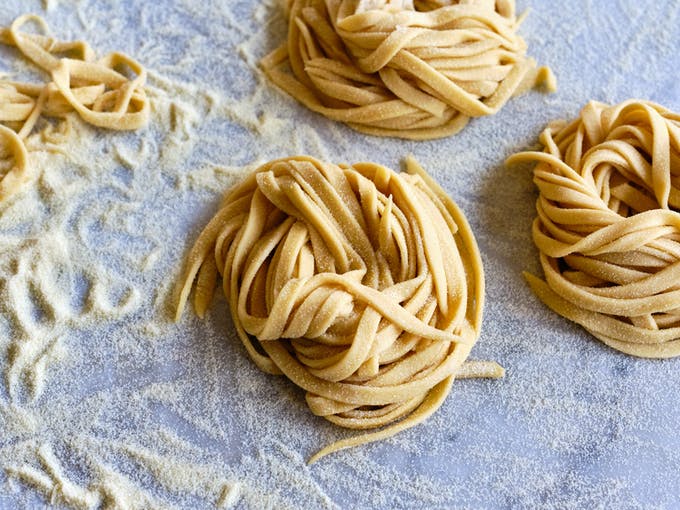
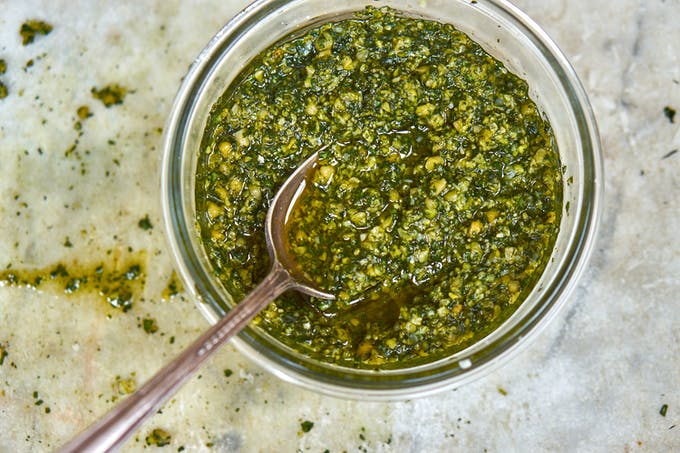
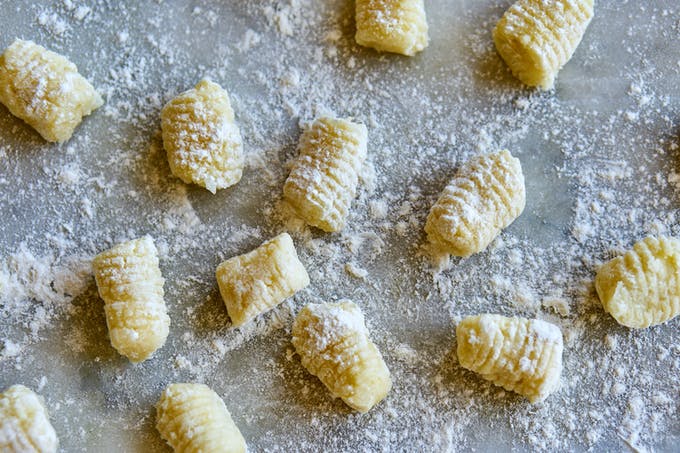
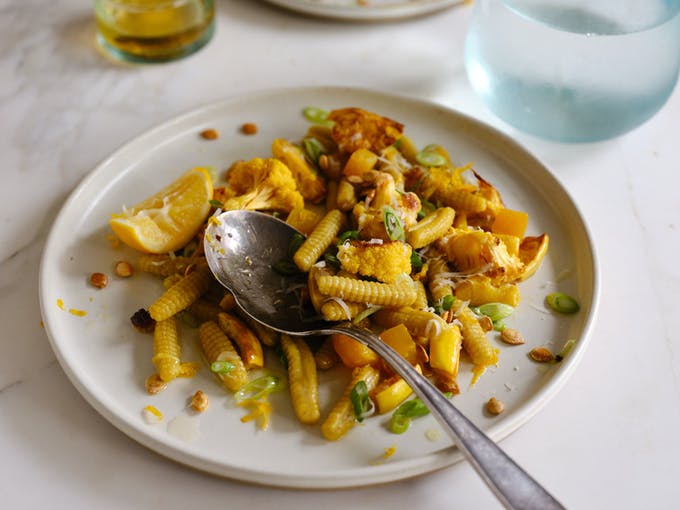
If you're looking for more pasta inspiration, here's where you can learn to make fresh pasta. Homemade cavatelli is a blast, and I love this pesto forever, especially with this gnocchi.
Thousand Layer Lasagna Recipe
I used to make this from scratch. Homemade pasta sheets, etc. This time I got a jump start by buying fresh egg pasta sheets at the farmers' market. You still need to run those sheets through a pasta machine a few times to achieve the most thin and delicate sheets of pasta possible - but starting from pre-bought was a bit of a revelation for me, and a big timesaver. If you don't have a pasta machine (they are actually quite affordable!), try a rolling pin - not quite the same, but it will help thin out the sheets. Make sure the pasta sheets you buy are fresh and moist. Proper seasoning is important throughout this recipe, if you under salt your lasagna is going to taste flat and the flavors won't pop. The right amount of salt brings the pasta forward and focuses the tomato and lemon flavors in the sauce.
- 1 pound fresh egg pasta sheets
- butter to prep baking dish
- 3 tablespoons extra-virgin olive oil
- 1 teaspoon fine grain sea salt
- 1 teaspoon crushed red pepper flakes
- 1 clove garlic, chopped
- 1 28-ounce can crushed organic tomatoes
- zest of one lemon
- 3 4-ounce balls of fresh mozzarella, torn up into little pieces
- a handful of slivered basil (optional)
- freshly grated Parmesan (optional)
-
Preheat your oven to 375F. Start by clearing off every flat space in your kitchen, you are going to need and use all of it.
-
Fill your biggest pot full of water and bring to a boil.
-
Lavishly butter a deep, square baking dish. The one I use is 8x8 and 2-inches deep.
-
Place the olive oil, salt, pepper flakes, and garlic in a pan. Dial the heat up and saute for a minute or two. Add the tomatoes and slowly bring to a simmer as well. Remove from heat, stir in the lemon zest and taste for seasoning. Add more salt if needed. Set aside.
-
Thin out your pasta using a pasta machine. Start by cutting the big sheets into 2-inch(ish) wide ribbons. This usually means making 2 cuts along the sheets. This should yield you about 12 2-foot strips. Run them through the pasta machine. I go to the 7 setting, two shy of the very thinnest setting. The sheets should almost be translucent. Cut the strips into manageable rectangles roughly 4-inches in length.
-
To pre-cook the pasta, fill a large bowl with ice cold water and a few glugs of olive oil. Place a large flour sack or cotton dish towel across one of your counters. Salt your pot of boiling water generously. Ok, now you are ready to boil off your pasta. Believe it or not, you are on the home stretch. Place a handful of the pasta rectangles into the boiling water to cook (I've found I can get away with about 20 at a time), fish them out (I use a spider) after just 15-20 seconds, don't over cook. Transfer them immediately to the cold olive-oil water for a quick swim and cool-off. Remove from the cold water bath and place flat and neat on the cotton towel. It is ok for them to overlap, I don't have a problem with the sheets sticking typically. Repeat until all your pasta is boiled.
-
Ladle a bit of the sauce into the bottom of the prepared baking dish. Cover the bottom with a layer of pasta sheets. Now a thin layer of sauce, and a bit of cheese. Go for another layer of pasta, then sauce, then pasta again, then sauce and cheese. Keep going until you've used up all the sauce and pasta. You want to finish with a layer of pasta. Top with the last of the sauce and the very last of the cheese so you have a nice cheesy top.
-
Bake until everything is melted and fragrant, 35 minutes or so. Let it sit for 10 minutes before serving, so everything has a chance to set up a bit. Dust with parmesan and a bit of slivered basil.
Serves 9


Post Your Comment
Comments
I NEVER precook the pasta when making lasagna. It not only saves a lot of work, but I think the texture is even better! (more toothsome) But I do make sure the sauce has a bit more liquid in it to for the pasta to absorb.
This must be the most wonderful Lasagne ever baked!!!
This is the same idea as the Latin American thousand layer cake. In that version, you make waffer-thin crunchy crepes, and layer a caramel spread in between.
thats nice....i have tried them using wanton skin...believe it or not i use them as appetizer by making the lasagna using ramekin of about 3 inches in diameter. Not that heavy just max of 3 mouthful, i guess. Kinda nice and easy but messy as the skin tends to stick.....
WHISPER THIN......end of story
I just found your blog and I really like the cookbook focus. It's one of my many cooking interests, so I'll definitely come back. As for lasagne, I consistently wow guests (in France) with the vegetarian lasagne from the Moosewood cookbook. Lasagne served in France is generally the basic meat and bechamel variety, so they seem to think it is really original.
Time consuming but soo rewarding.
Even when I look at the pictures, Im hungry... It must be amazing enjoy the taste, smell...
I think I get pasta sheets from the same pasta seller at the Ferry Plaza market! Brilliant idea to thin them out with a rolling pin (I don't have a pasta machine).I have had good luck with making butternut ravioli with their spinach pasta sheets, which they have in addition to plain egg pasta. You get a ton of pasta for 3 dollars and it keeps a few days wrapped tightly in plastic in the fridge (enough to experiment with different shapes, recipes). Thanks for your inspiring posts.
Yummers. Living in an Italian neighbourhood, making dishes like this is always a delight. I so enjoy chatting with the ladies who run the delis, getting fresh pasta, cheeses and all the rest of the bits and bobs to put something like this together. I make a similar recipe, but not quite as subtle as this. I think this one will truly wonderful. I can't wait!
FINALLY--this is what my hubby has been missing from Italy. Me, queen of boxed pasta, will have to give it a try.
That's one heck of an enticing paragraph to discover in my in-box this morning!
you have convinced this italian american daughter of the best lasagna maker ever to try a new lasagna. it looks amazing, sounds amazing.
I ate something very similar to this in Italy about 5 years ago and realized that American lasagna is not even in the same league as this dish. Looks wonderful.
Brilliant idea, Heidi. Your method is brilliant. unique and well worth the effort. I can't wait to try it with my recipe for sou bourek, a Turkish version of lasagna stuffed with cheese or meat. I never 'nailed' this 'best of breed' version because I couldn't get the pasta thin enough. Thank you so much, You are a champion of the home cook!
I do not say your "lasagne" will not taste good, but it is far from the traditional recipe which requires meat, sauce béchamel and more.
Funny coincidence to see a pasta post on your blog tonight as mine tonight was about homemade beetroot ravioli. Pasta is such a rewarding dish to make, when well done, and your shots speak for the pasta. Beautiful!
I'm with you, Betty...where's the ricotta? A whisper thin layer seems called for.
no ricotta?
Hi betty - you could certainly do a version with thin layers of ricotta. I can imagine it being wonderful.
If you use a hand-cranked pasta machine, see if you can locate a small electric motor for it. I bought mine in Italy; it is called Pasta Facile, is made by Imperia, and powers the pasta machine via a rod which engages in the hole where you would put the handle. This gives you the use of both hands to control the pasta, which is brilliant!