Vegan Tamagoyaki
A vegan version of tamagoyaki, the much-loved Japanese rolled omelette. This chickpea-tofu version is seasoned with scallions and herbs.
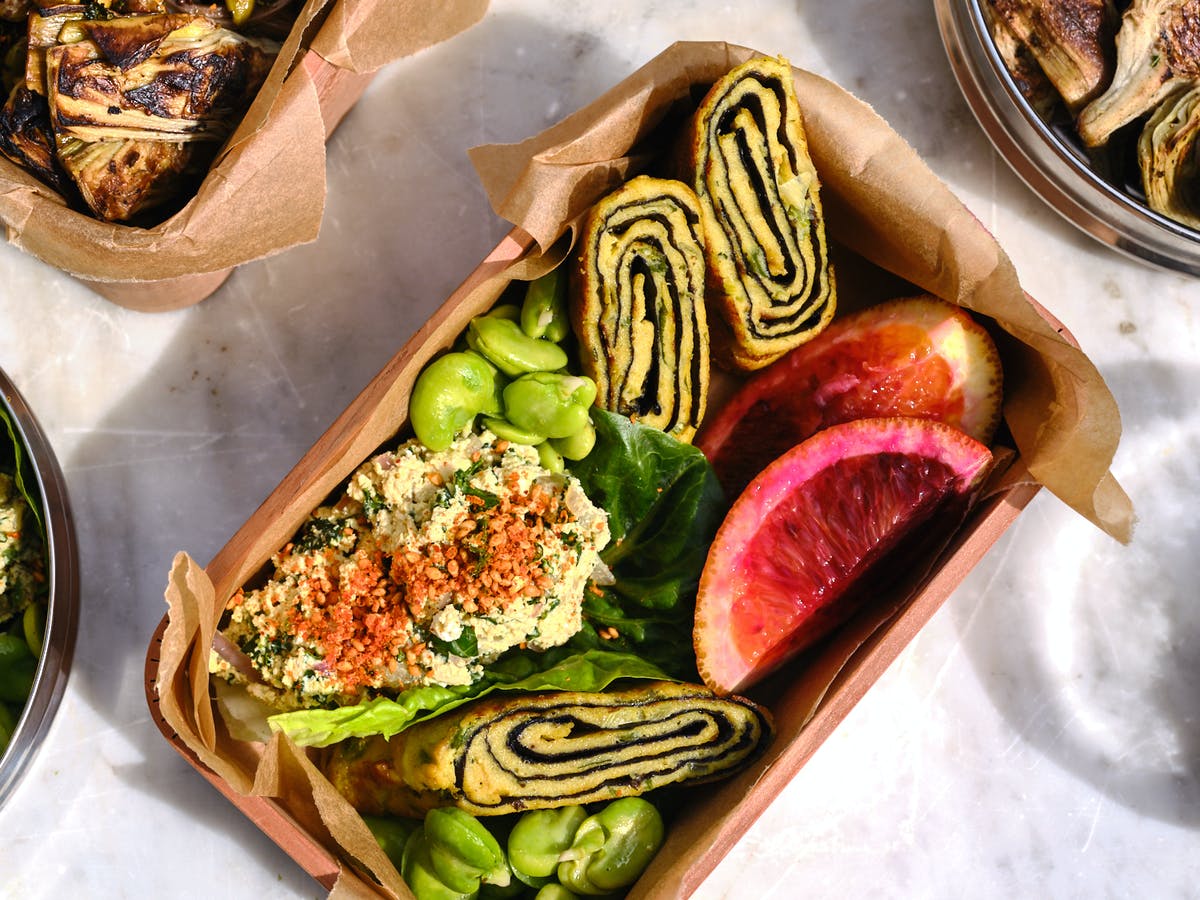
Tamagoyaki are Japanese rolled omelettes, a favorite bento component and, around here, a lunchtime heavy lifter. Sometimes I like to make them the classic way, using beaten eggs. I also, often, make a vegan version using a blended chickpea and tofu mixture. I’ve been working on a post about feel-good lunch ideas (coming soon) and the vegan tamagoyaki are a cornerstone component. You can season these tamagoyaki endless ways, make them ahead of time, and enjoy tamagoyaki on the go. The perfect protein-rich player.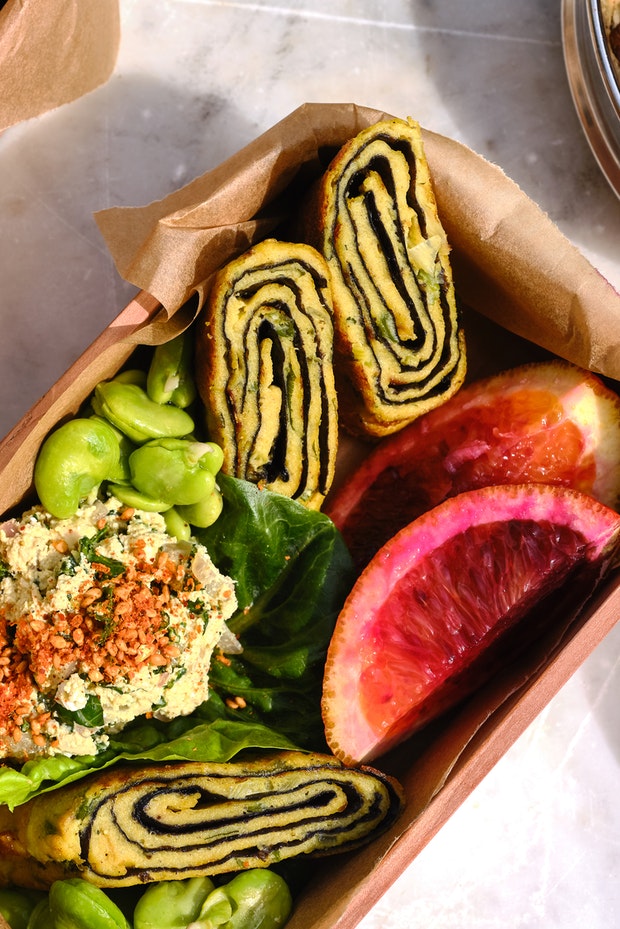
Vegan Tamagoyaki: Inspiration
There used to be a vegan frittata I loved at Go Get Em Tiger in Los Feliz, Los Angeles made from a rich batter of chickpea flour and a lot of olive oil - I don’t see it on the current menu. It was streaked with kale and dotted with cherry tomatoes, shallots were involved, and the “egg” component was fluffy and fantastic. There’s a lot of olive oil in that vegan frittata, more than I like to use in an everyday-type recipe, so I go with a chickpea flour base blended with silken tofu and less oil. It works out great, cooks up (and browns) beautifully, and is a great plant-based alternative to classic tamagoyaki. This recipe makes other big leaps from traditional tamagoyaki recipes which tend to be sweetened with mirin or sugar, and seasoned with dashi and soy sauce. That said, once you finesse your technique, you can play with all the seasoning variables and make yours as classic or experimental as you like. 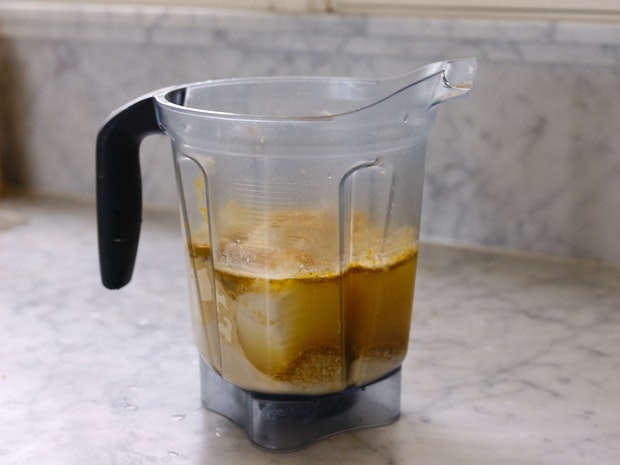
The chickpea, tofu, and seasoning mixture is simple to make by using a blender (or hand blender). It will keep refrigerated for days, which is great for on-the-fly rolls.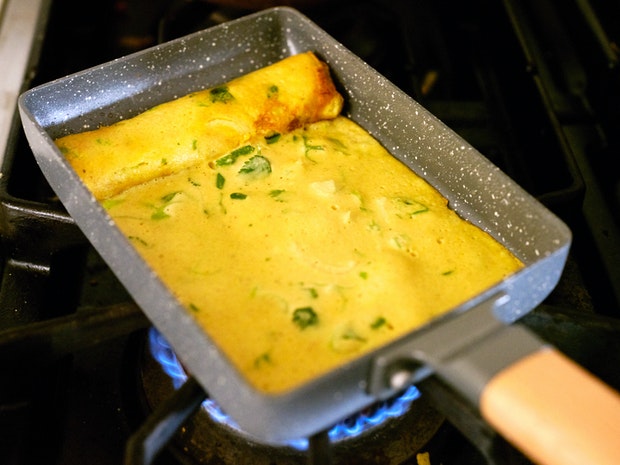
Choosing a Tamagoyaki Pan
You have a number of options when it comes to pans here. I have a simple, rectangular, classic, small cast iron tamagoyaki pan that makes wonderful egg-based tamagoyaki (not pictured). It really doesn't do as well with vegan tamagoyaki. The batter sears and sticks and honestly, its a big mess. So, I have a ceramic pan that I use for these, and it's great. It's super slippery, responsive, and generally easy to use. The front edge is sloped for easier rolling. It's this one - highly recommend.
Can I make Tamagoyaki Without the Special Pan?
Yes, and no. It's exceptionally difficult to establish the classic rectangular shape without using a pan with four corners. But, if you have a small, round skillet there's no reason not to go for a round version. Simply pour enough of your tamagoyaki mixture into the middle of the pan, and quickly swirl until you have thin coverage across the flat bottom of the pan - avoiding the sides. And proceed from there. Keep in mind this mixture loves a slippery surface, and it's one of the few occasions I break out a non-stick pan.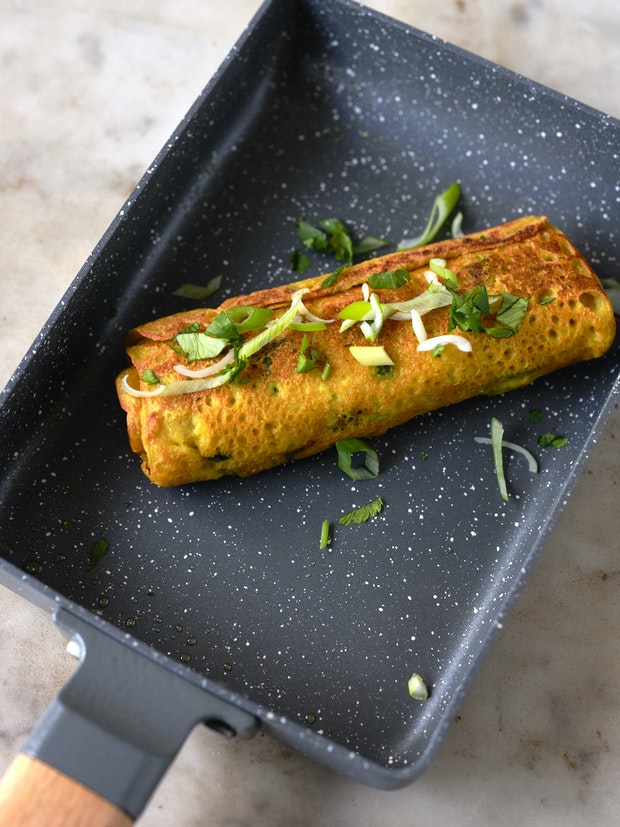
Make-ahead Considerations
Tamagoyaki are great because you can do multiple levels of “make-ahead.” The vegan tamagoyaki mixture fits in a quart-sized jar and will keep refrigerated for 5-6 days. Then, when you have a window of time, you can cook all (or some) of your tamagoyaki and once. Allow them to cool, wrap individually, for example, tightly in parchment paper - they will keep refrigerated for 3-4 days. When you’re ready to pack a lunch or make a meal, slice and enjoy.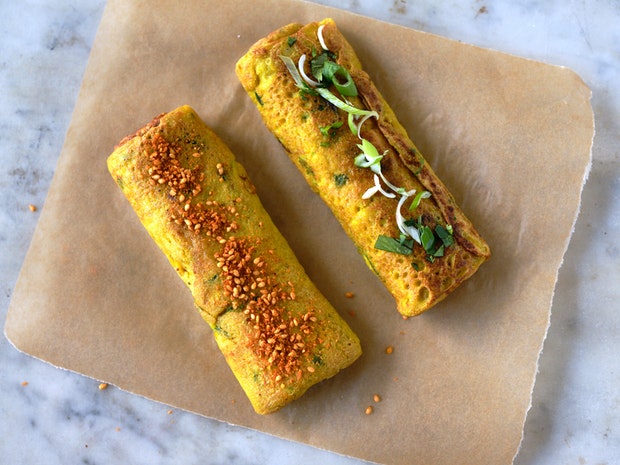
Variations
Nori-lined Tamagoyaki: Trim sheets of nori so they’re just a bit smaller than the base of your pan. Immediately after coating the pan with the tamagoyaki mixture, place a sheet of nori on top of the wet mixture. It will shrink up a bit and sometimes starts curling at the edges a bit. Proceed with rolling per the recipe. If you’re doing a double thick tamagoyaki, through down a second sheet of nori after your second allocation of tamagoyaki mixture has spread across the pan. Once it has set, roll and proceed with the recipe.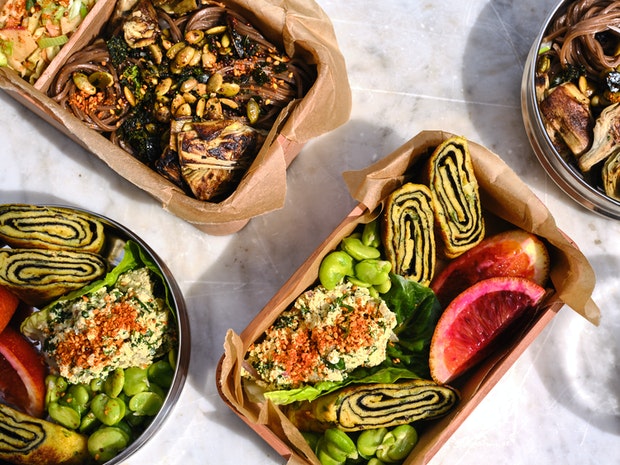
Caramellized Onion Tamagoyaki: If you have any jammy, deeply caramelized onions on hand - this is a great way to use them. Drop some of the onions onto still-wet tamagoyaki mixture just after it hits the pan. It works really well with this chickpea-tofu combination.
Water vs. broth: This recipe call for 1 3/4 cups of water, but you can absolutely play around with other liquids. I’ve made this tamagoyaki using strong mushroom tea in place of the water, or a favorite herby vegetable broth. Play around!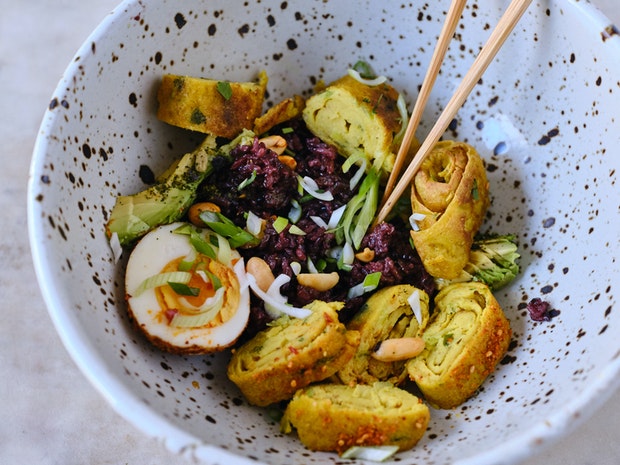
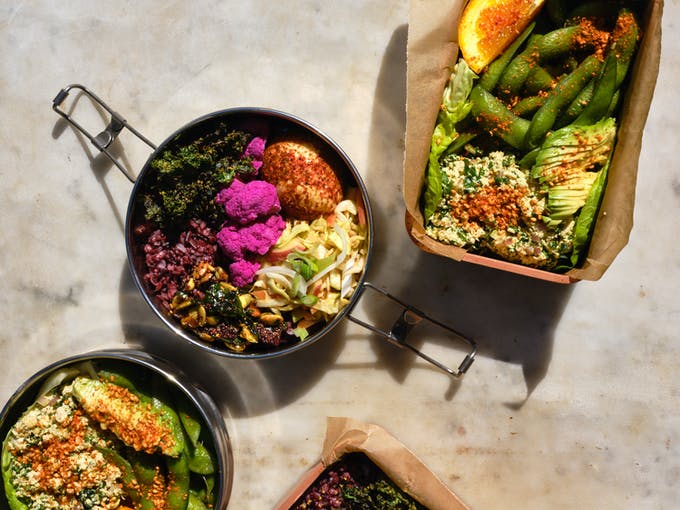
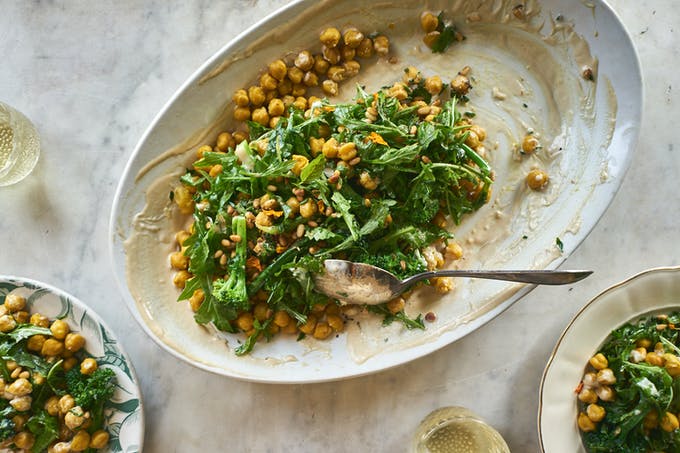
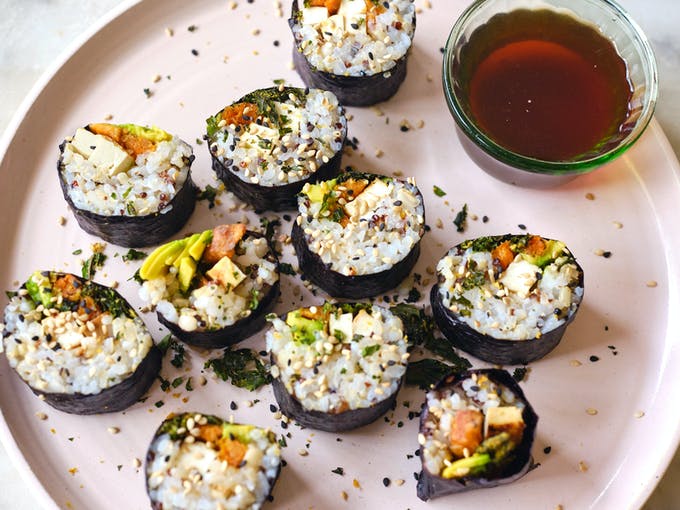
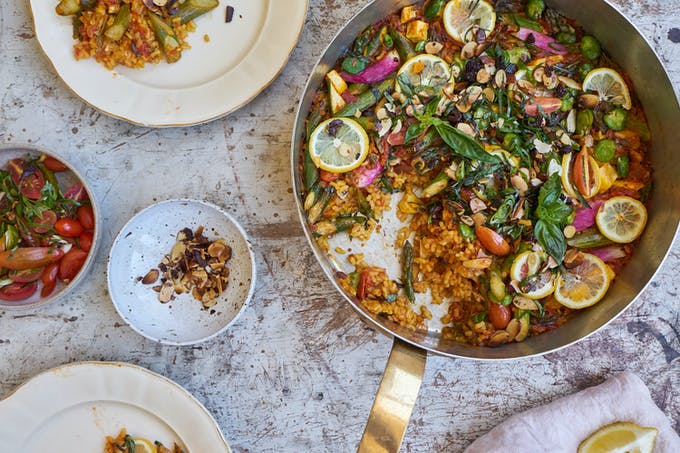
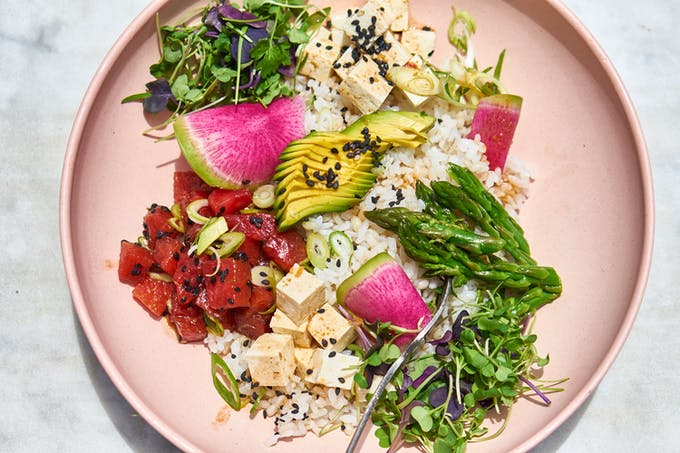
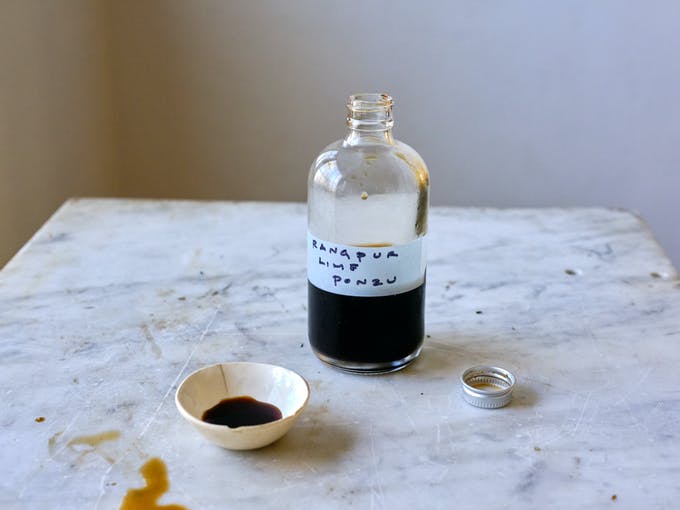
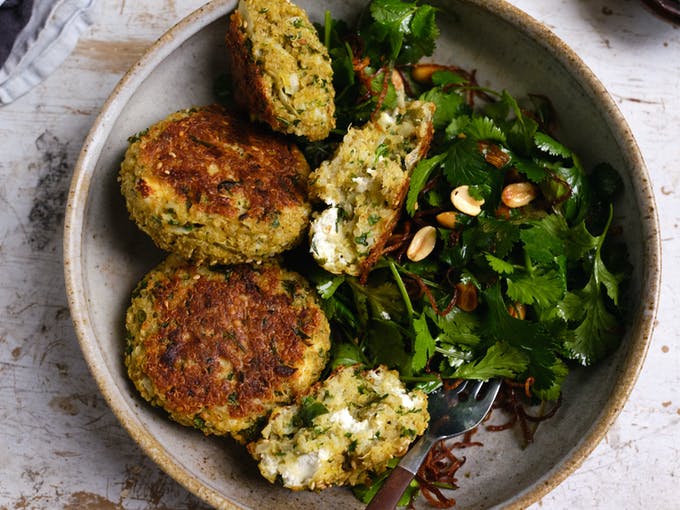
Here's another example of vegan tamagoyaki as a component in a simple rice bowl for lunch. There's purple rice, sliced avocado, chana masala spice-dusted hard-boiled egg, and peanuts. I drizzled it with a spicy sesame soy sauce. All the components here were pre-made (aka leftovers). To pull together lunch I heated the rice, and pulled the other components from the refrigerator an hour or so ahead of time to bring them up to room temperature. Here's where you can click-around all the lunch ideas you see pictured above. These quinoa patties are also a great option, and same goes for a couple rolls of vegan sushi. Have fun experimenting, and enjoy!
More Vegan Recipes
- Vegan "Fish" Tacos
- Vegan Pozole
- Vegan Nachos
- Vegan Ramen
- Simple Vegan Mayo
- even more vegan recipes!
Vegan Tamagoyaki
This tamagoyaki mixture fits in a quart jar and will keep refrigerated for 5-6 days. For make-ahead convenience, you can cook all your tamagoyaki and once, allow them to cool, and wrap individually in parchment paper. They will keep refrigerated for 3-4 days. When you’re ready to pack a lunch or make a meal, slice and enjoy. If you want to make a nori-lined version of tamagoyaki, I have notes for that up above in the variations.
- 2/3 cup / 73g chickpea flour
- 16 ounces / 454 g silken tofu
- 2/3 cup / 90 g white or brown rice flour
- 1 3/4 cup / 415 ml water
- 2 1/2 tablespoons extra virgin olive oil, plus more for cooking
- 3/4 teaspoon fine grain sea salt
- 2 tablespoons dried onion flakes
- 1 tablespoon curry powder, or more to taste
- 1/2 cup chopped scallions
- 1/2 cup fresh herbs, chopped (cilantro, basil, chives, etc.)
- 1 serrano chile, seeded and minced
-
Combine the chickpea flour, tofu, rice flour, water, olive oil, salt, onion flakes and curry powder in a blender. Pulse until silky smooth. Alternately, you can use a hand blender. You’re after a consistency of a beaten egg, so if you need to add a bit of water at this point, go for it. Stir in the scallions, herbs and chile and allow to sit for ten minutes.
-
When you’re ready to make tamagoyaki, lightly oil all surfaces of your pan. Place the pan over medium heat and stir your mixture well.
-
Pour enough of the tamagoyaki mixture into the pan to cover about half the surface area. Quickly swirl around to cover the pan in a thin layer. Allow it to cook until it sets and begins to brown on the bottom. The browning adds structure and is necessary for success on the next step - rolling.
-
Using a wide, oiled spatula gently roll the sheet up to one side of the pan. This takes some practice, but you’ll get the hang of it. If needed, oil the exposed part of the pan, and add more tamagoyaki mixture for the second layer, swirl again to coat the pan making sure the mixture runs up against the existing roll. When you’ve got some nice browning, continue rolling the tamagoyaki.
-
You can repeat this last step until the tamagoyaki is the desired size, but I usually stop at two. To get a lot of color on the outside of these tamagoyaki, brown well in the pan and flip sides a few times along the way.
-
Transfer the tamagoyaki to a cutting board and allow to cool completely before cutting with a clean, sharp knife. Wipe the knife down between slices for clean cuts. Cut into desired slices, I prefer to cut on the diagonal, especially when I use nori to show off the pretty rings.
Makes 6-8 tamagoyaki.



Post Your Comment
Comments
I love your recipes and your site is on standby for me when I hit a creative block. I like this idea so much and, since I don't have the right pan (and space is limited), I wonder how it would work in a sheet pan? I've done just egg frittatas on a half sheet pan in the oven before (don't judge me! It was for a quick weekday family breakfast option!). I just wonder if this could use the same technique?
Hi Rebecca - I think you could try (and bake them, is that what you're thinking?). I think the main danger is the mixture sticking to the pan, so I'd do a parchment lining, and then oil it...xx!
I made it today but unfortunately the mixture never set properly. I managed to roll it but the mixture was very sticky and kept sticking to my spatula. It was very fragile and difficult to flip. (The first one broke in half when I flipped it, and inside it was pasty and undercooked.) Not sure what could have caused these issues?
Hi Emilye! The whole process definitely takes practice and patience. I'd try it again and switch to a new spatula - or something with a thin edge. Some of the silicon spatulas have a thick edge that is troublesome here. And try with less of the mixture - the thinnest coating - which should solve the undercooking issue. Definitely fragile and a bit difficult! I've experienced all the same with the egg version, it really is about practice and technique, and swapping out pans, spatulas, etc. that might be giving you trouble.
I am so excited to make these that I ordered the recommended pan from Amazon - it is on the way. I have a question- I'm out of rice flour and don't want to go to the store. Should I substitute with additional chickpea flour? all purpose? or does the rice flour have a unique property in this recipe. Thanks, Heidi!
I think either of those would be fine!
I haven't come across tamagoyaki, but a vegan frittata is a very fine thing indeed!