Shaker Apple Pie
The defining detail of this traditional Shaker apple pie is the use of rose water in the filling. Sliced apples, brown sugar, and a splash of floral results in a special combination. Pair it with an all-butter crust and you have a beautiful apple pie on your hands.
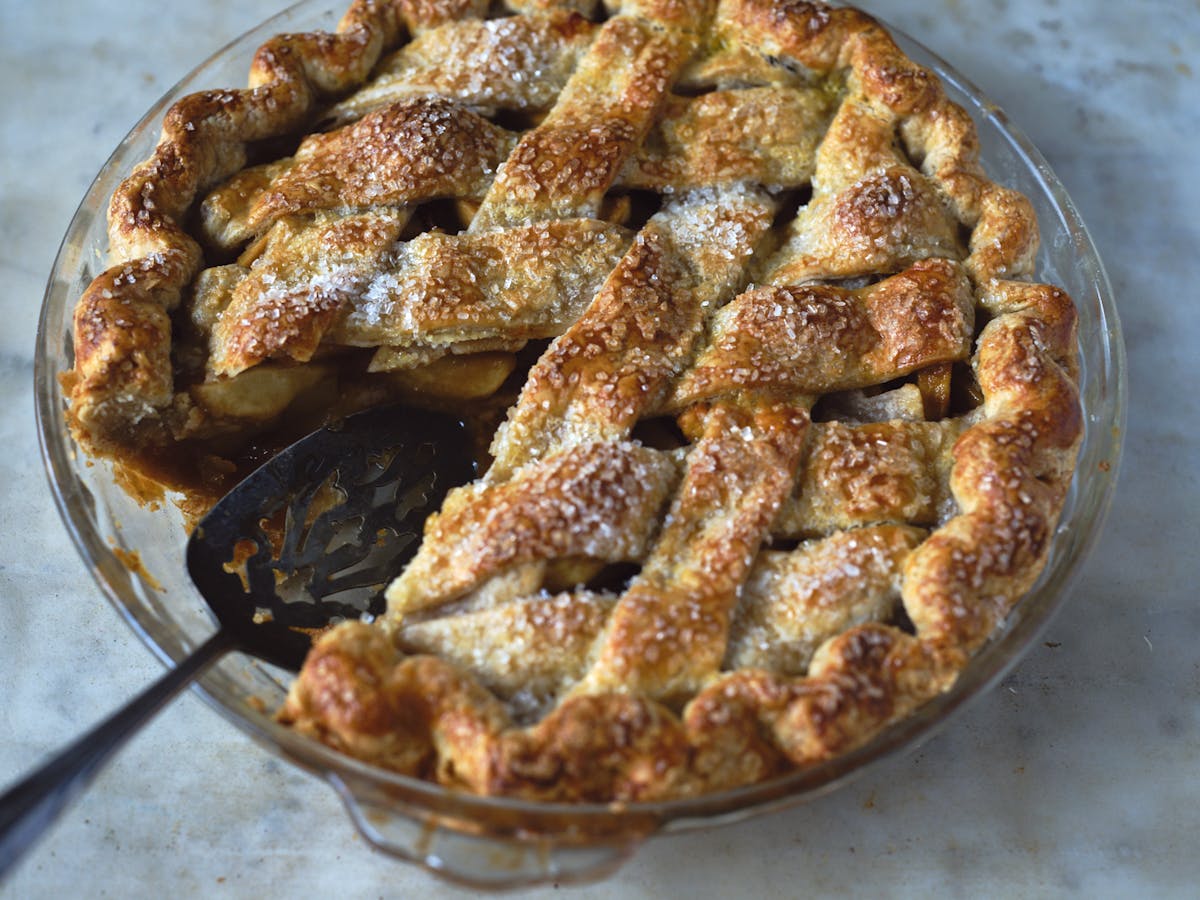
Inspiration for this apple pie struck not long after posting a Shaker lemon pie earlier this year. I stumbled on a book about Shaker life and design in a used book store. My head was still in Shaker world, so I picked it up. It was a large book, the most comprehensive I’ve come across, and including entire sections about communal life, Shaker tools, and even a page about raising flowers. On the topic of flowers, Shakers traditionally did not grow them for beauty or decoration, but only for their culinary purposes or medicinal uses.
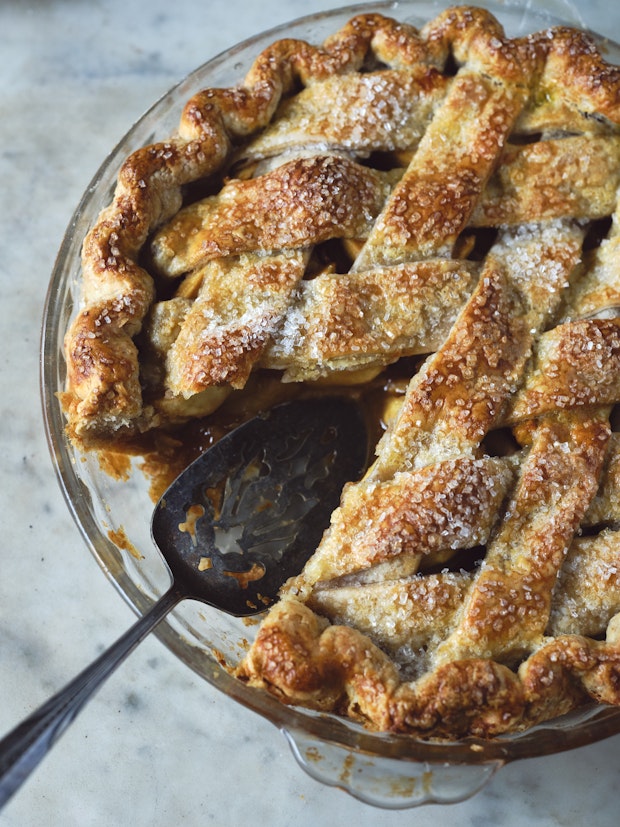
Shaker Apple Pie: The Inspiration
I brought the book home with me and continued reading. The account by Sister Marcia’s Bullard (1821-1899) goes on to inform, “rose petals were gathered and distilled into rose water, which was used medicinally and also as a flavoring in cooking.” Much like we use vanilla today. She then says, “rose water was a traditional ingredient in Shaker apple pies.” And that was the record scratch for me. An apple and rose scented pie? That sounds amazing (and it is!). So here we are. Apparently, rose water was an important flavoring agent in America prior to the availability of vanilla extracts.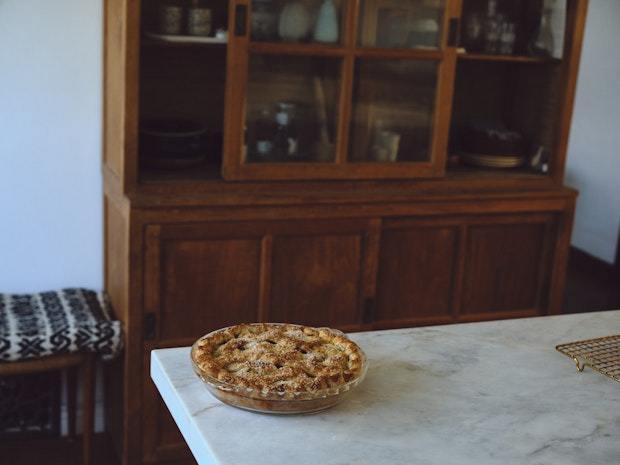
Why I love this Pie
I understand what people love about the type of apple pie that is popular in the United States today. They're big on cinnamon, warming, nostalgic and cozy. This pie is all those things, minus the warming spices. And because it plays a beautiful floral wildcard, starting now, it will forever have my heart. That one move, one ingredient, changes the entire personality of the pie. If you love apple pie, and want to switch things up a bit this year, give this a try. 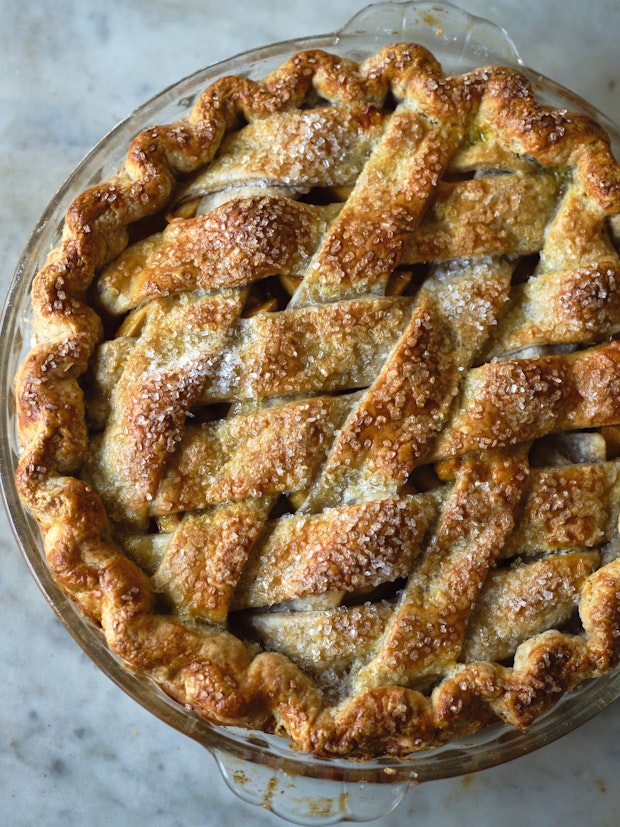
What Kind of Apples for Apple Pie?
Honeycrisp apples are great for pies (and snacking), but they can be a bit tricky to finding certain areas outside of peak apple season. Granny Smith apples are ubiquitous and easy to buy just about anywhere, anytime. Keep your eyes open for pink lady and Braeburn apples as well. And you can always do a blend of apple types. This pie pictured here was baked with honey crisp apples.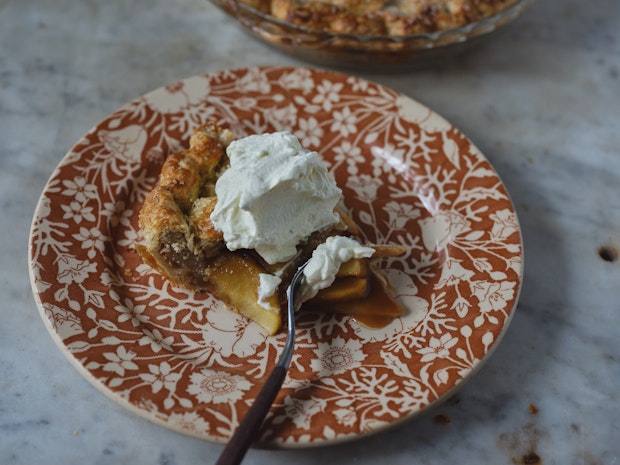
Basic Steps to Making an Apple Pie
If this is your first pie, or maybe you're still gaining confidence on the pie baking front, here are the big steps and general process that goes into making an apple pie.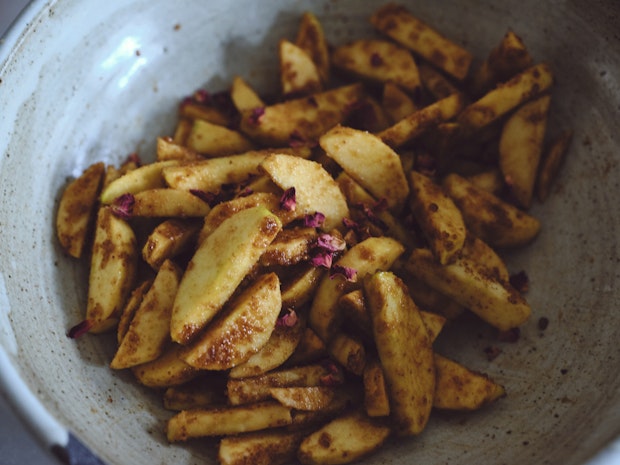
Step one: make the apple pie filling by mixing the ingredients in a large bowl. No pre-cooking of the apples is necessary for this pie.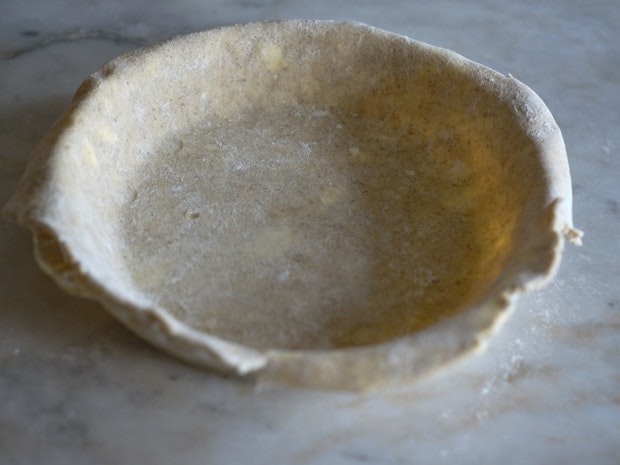
Step two: roll out bottom pie dough and line the pie dish with the crust. (above)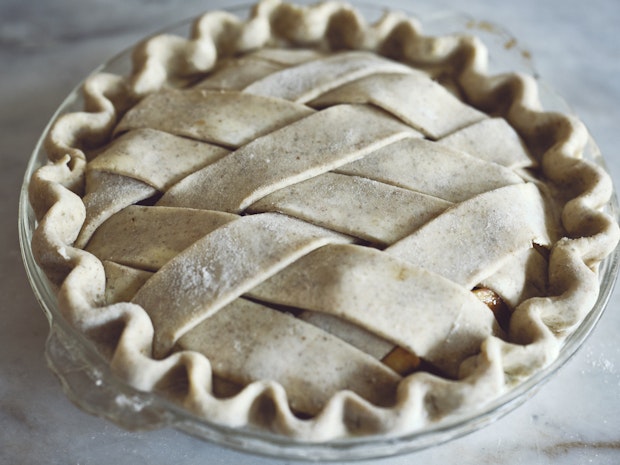
Step three: roll out and make the top crust. I share how to make this lattice crust below this section. Alternately, keep it simple! Roll out the top crust into a full circle and use that, cutting a few vents prior to baking to allow steam to escape. Seal and crimp.
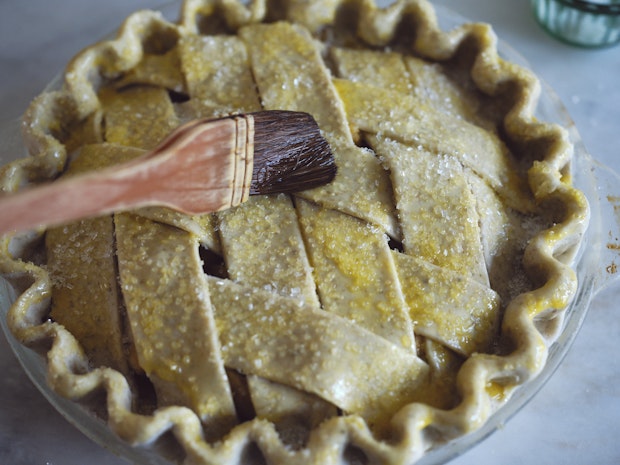
Step four: Brush with egg, sprinkle with sugar, chill and bake!
To Make a Lattice Pie Crust
You don't have to make a latticed top for this pie, but you can if you like. Here's how: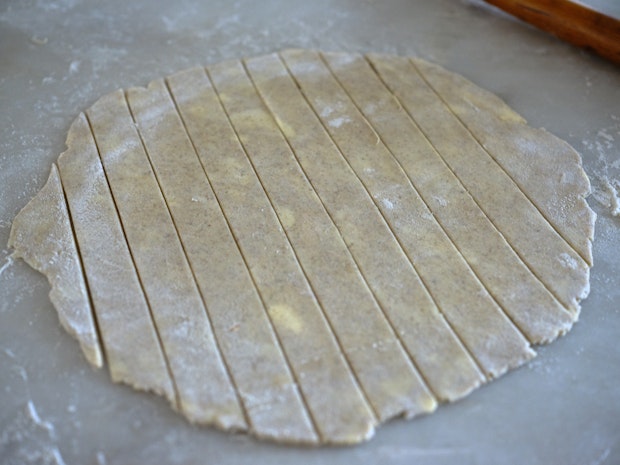
Step one: Roll the pie dough top crust out into a 12 x 12 shape and cut into 1-inch thick strips (pictured above). My shape was too circular here, go for more of a square. 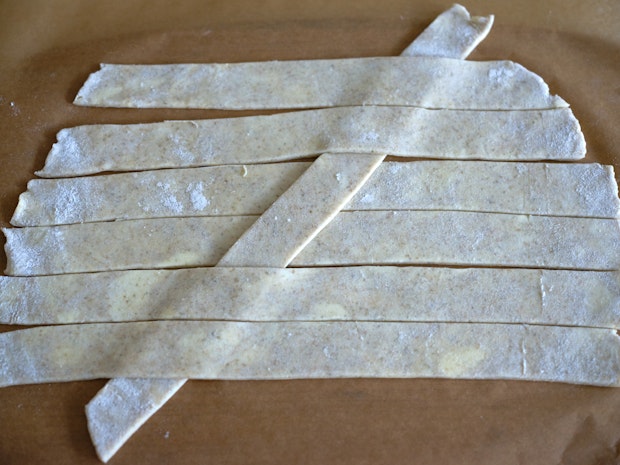
Step two: Arrange 6-7 strips horizontally on a piece of parchment paper. Then, starting in the middle, working quickly with a single strip, make your strips look like this. (above) Under two, over two, under two, at 45 degree angle.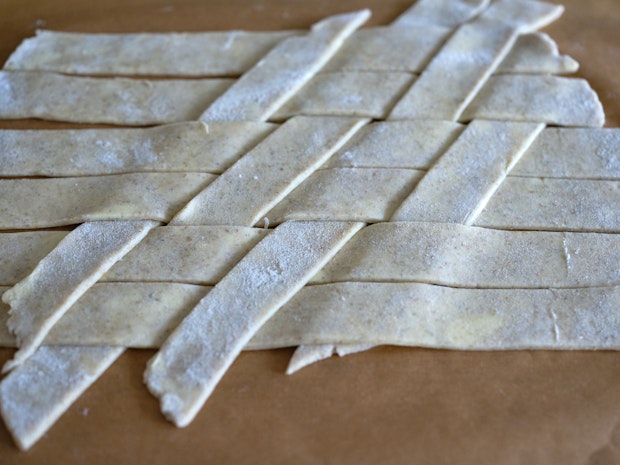
Step three: Grab another single strip and do the opposite next door. So - over two, under two, over two. Keep going working outward, alternating. When you've used all your strips transfer the crust to the refrigerator for 5 minutes or so to set a bit. You'll be able to slide it off the parchment paper into place on the pie. Trim just beyond the edge of the pie dish, crimp or seal, and proceed with the recipe.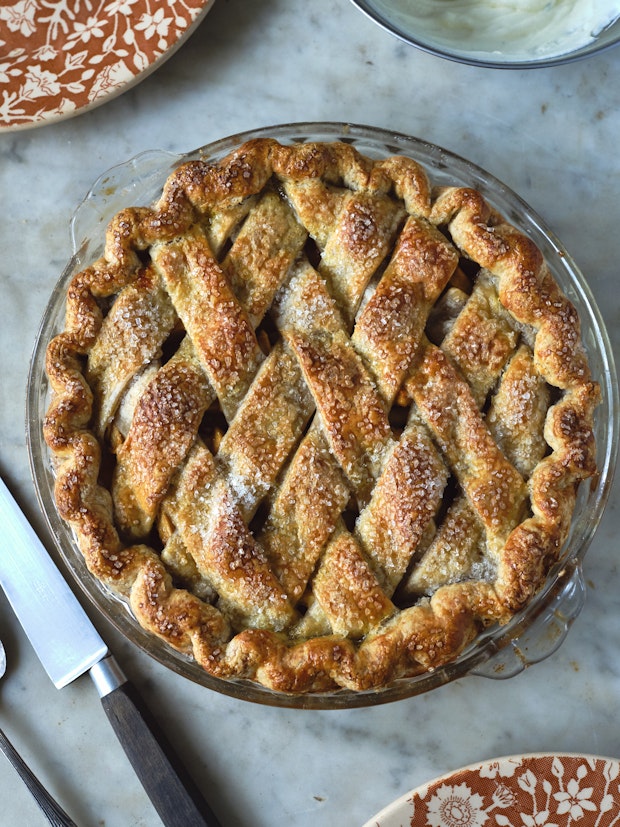
What Kind of Pie Crust is Best?
I’ve baked pies using a range of crusts over the years, but this is my all-time favorite pie dough now. It’s simple, incorporates all the tweaks and techniques I've experimented with, and results in a super-flaky all-butter pie crust. It's absolutely delicious. And, for this pie, it bakes up golden and beautiful thanks to a sugar-crusted egg wash prior to baking. It's also use it regularly for tarts and this deep dish quiche.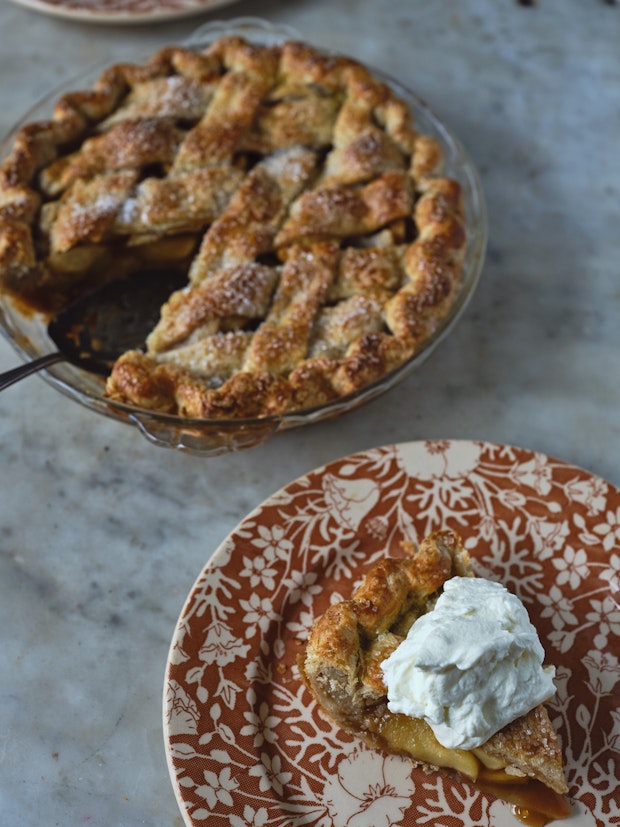
I hope you enjoy this pie as much as I do! You see it server here with a dollop of whipped cream sweetened with a bit of sugar.
More Pie Recipes
- Shaker Lemon Pie
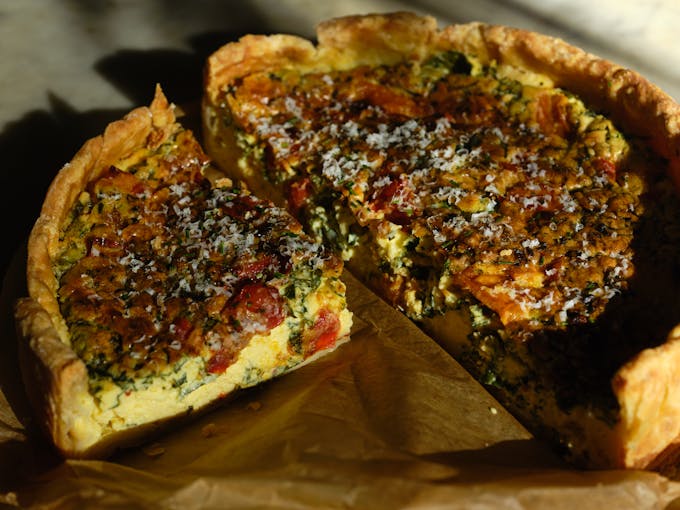
- Deep Dish Quiche
- All Butter Flaky Pie Crust
- Vegan Samosa Shepherd’s Pie
- Pumpkin Pie
Shaker Apple Pie
The above post talks through my favorite apple choices and includes a few tips, tricks and details. I’ll call most of them out here in the recipe, but they’re worth a read before you jump in. The recipe walks you through a standard double crust pie, if you’re interested in making a lattice crust, please refer to the photos in the post up above. This makes a double-crusted 9-inch apple pie.
- 2 pie crusts top & bottom
- 6 large tart or tart-sweet apples honey crisp, Granny Smith, Braeburn, pink lady
- 1 tablespoon lemon juice or apple cider vinegar
- 1/4 teaspoon fine grain sea salt
- 1/2 cup dark brown sugar
- 3 tablespoons unbleached all-purpose flour
- Zest of one lemon
- 2 teaspoons rose water, or more to taste
- 2 tablespoons dried rose petals optional
- 1 egg
- 1/4 cup granulated or large grain sugar, to sprinkle on crust
-
Heat the oven to 425°F with a rack in the center. Heat the oven for at least 30 minutes before baking pies - you want to make sure it’s hot and ready to go. Also, clear a space in the freezer to chill the pie before baking.
-
Peel each apple and cut away from the core. Slice into 1/4-inch thick slices. Toss the apple slices with the lemon juice. Sprinkle with the salt, brown sugar, flour, lemon zest, rose water and rose petals (if using) and toss again.
-
If your dough has been chilling overnight allow it to sit at room temperature for a bit before rolling out - 15 minutes or so. Lightly flour your work surface and rolling pin. Roll the pie dough out, large enough to relax into your pie dish with extra dough a bit beyond the edge. As you’re rolling the dough, you’re going to want to turn the pie dough clockwise after every few passes with the rolling pin to prevent sticking. Flour more as needed.
-
Transfer the dough for the bottom crust into the pie dish by gently wrapping it around your rolling pin and unrolling it across your pie dish. Coax the pie dough into place, and then press into the pan to anchor it. Roll out the top pie crust. You want to work relatively quickly at this point so your dough doesn’t warm. If you’re doing a lattice or other design, refer to the photos up above, and prepare the top crust.
-
Gently pour the apple filling into the dough-line pie dish. Drape the other round of pie dough on top and trim so you have about 1-inch of dough hanging beyond the edge of the dish. Press the edges of the pie shell together to seal things, and fold the edge of the crust over or under, and crimp or pinch around the edge using a fork or pressing your thumb and forefinger of one hand into the forefinger of the other hand. Carefully place the entire pie in the freezer for 15 minutes.
-
In the meantime, whisk the egg. When it is time, remove the pie from the freezer, cut a few slits in the top (unless you’ve chosen a lattice top) to allow steam to escape while the pie bakes, and gently brush with enough egg to coat all of the top crust. Sprinkle generously with sugar.
-
Put the pie on a baking sheet to catch any drips and place in the oven. Dial back the heat to 375°F. You’re going to bake the pie for about an hour, but start checking on it about 45 minutes in. At this point I often spin it 180 degrees in the oven, and make note if the top of the pie is getting too dark. If so, place a sheet of aluminum foil over it until the bottom catches up. When everything is deeply golden remove from the oven and cool on a pie rack for 2-3 hours before slicing. If you have leftovers, you can refrigerate this pie for up to a week.
Makes one 9-inch apple pie.



Post Your Comment